Easy, Budget-Friendly DIY Christmas Tree Collar
We moved into a new home over the summer. Our previous home had very low ceilings, so our Christmas tree was kind of…on the short side.
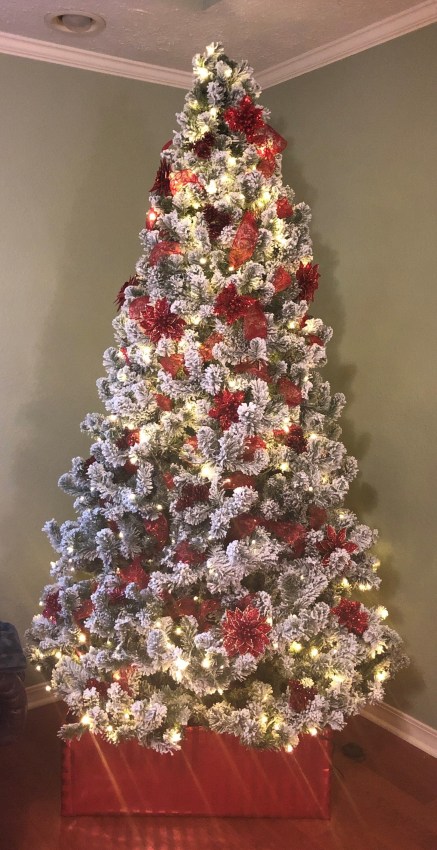
As soon as we moved in, I was already dreaming of Christmas and the taller tree I planned to purchase. Sure enough, I found the perfect tree a couple of weeks ago. It’s from King of Christmas and although it was a splurge, I am thrilled with our purchase.
We got the 8 foot pre-lit Prince Flock and so far, it’s gorgeous. I’ve never had a flocked tree before, but I was pleased that there was minimal mess even as I assembled the tree and adjusted the branches.
Clearly I’ve had my head in the sand for a couple of years, because I didn’t even know Christmas tree collars were a thing. But this year, I stumbled upon them on Instagram and I knew my plain old tree skirt just wouldn’t cut it this year.
But then I saw the prices of the collars…ugh. I already splurged on a tree. No way I could justify spending that much on a tree collar. (maybe after Christmas they’ll go on sale?)
In the meantime, I came up with a solution! An easy and cheap solution that I think looks pretty cute!
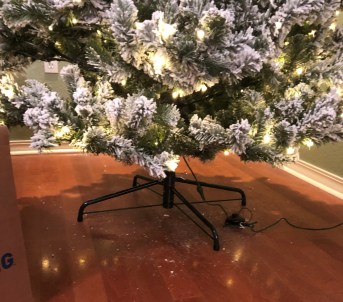
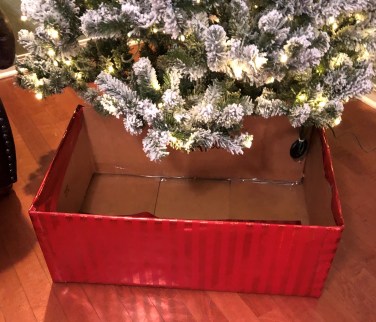
I simply found a cardboard box–it was actually one we had stashed in the garage where such things go to die. It happened to be the right height, but if it hadn’t been, I would’ve just cut it down to size.

I was going to cut the top flaps off the box, but after cutting one, I realized I could just tuck them inside and secure with packing tape. That was much easier! Once I did that, I wrapped the box with pretty wrapping paper I found at Hobby Lobby.

The only struggle I had was trying to get the tree inside! Tip: have your box ready BEFORE putting your tree together and it will go much easier! But I finally got the tree in the box and all is well.
Since our new tree is flocked, I thought red accents would be pretty, so I used red paper. I really like the outcome. I tried adding a throw to the box and fanning it out just for a little flair, but I think I like it better without.
As a side note, I wish I’d put something underneath the box. I think a rug would’ve been cute. Maybe next year!
Hopefully this will help some of you who like the look of something besides a tree skirt. It hides the tree stand and adds a pop of color as well. The whole project was the just the cost of the paper, which was $4.50.
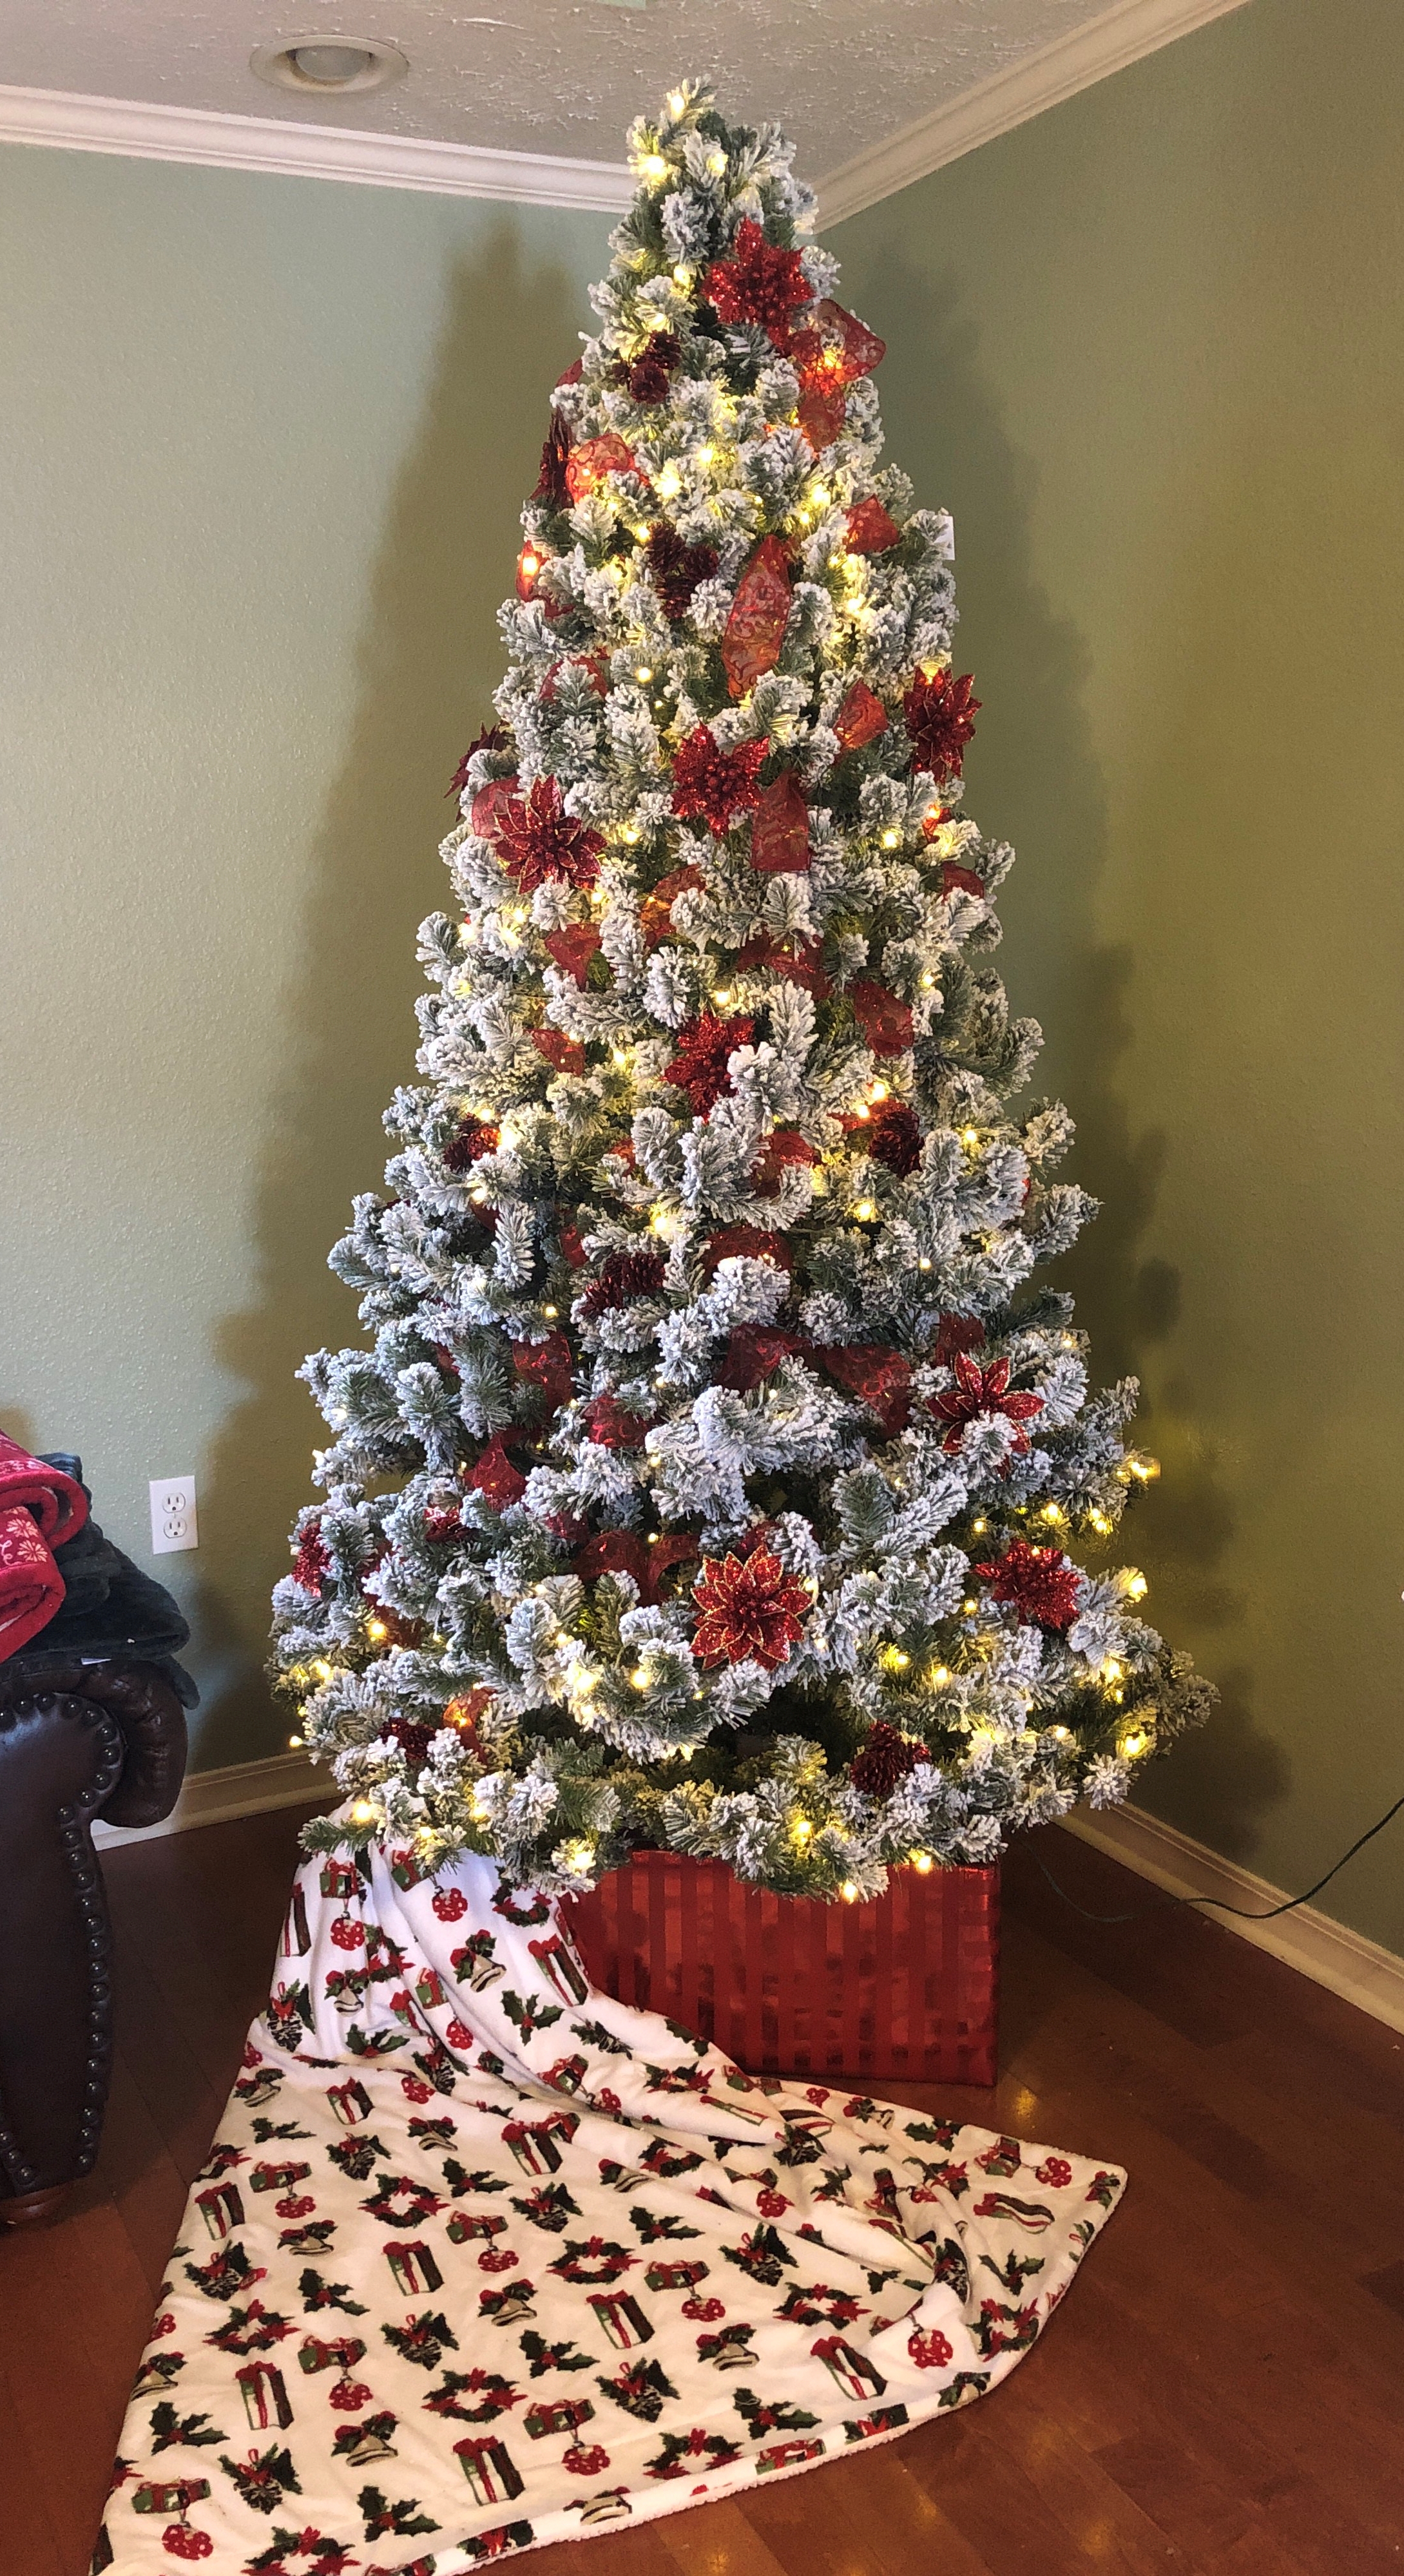
Well worth it to me! Here’s another look at the finished product:

DIY and Projects Budget Christmas DIY

